
You can create a patient alert for a single patient, an entire family, or selected members of a family. You can set a time limit on patient alerts so that you only see patient alerts when the information is timely. And, you can select which modules display the alert so that you only see the alert when it is pertinent. From the Patient Alerts dialog box, you can create, edit, or delete patient alerts. By default, the dialog box only displays active patient alerts.
To create a patient alert
1. From any patient-specific Dentrix module, select the patient you want to create an alert for.
2. In the toolbar, click the Patient Alerts button.
Depending on whether the patient has previous alerts set up, either the Patient Alerts dialog box or the Create Patient Alert dialog box appears.
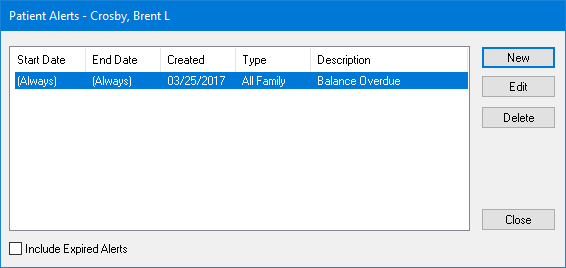
3. To create a new patient alert, click New.
The Create Patient Alert dialog box appears.
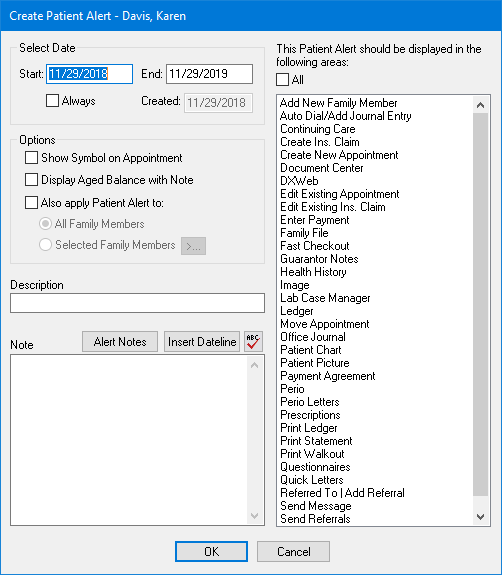
4. Do the following:
· Select Date - Type the date you want the alert to start appearing in the Start field and the date you want the patient alert to stop in the End field. If you want the patient alert to always be active, select Always.
Note: The date you created the patient alert displays automatically in the Created field. You cannot alter the created date.
· Options - Select one or more of the following.
· Show Symbol on Appointment - Displays a symbol on an appointment indicating that the patient has an alert.
· Display Aged Balance with Note - Displays the family's aged account balance in the alert pop-up.
· Also apply Patient Alert to - Applies the alert to one of the following:
· All Family Members - Applies the alert to all family members.
· Selected Family Members - Applies the alert to family members you select from the Select Family Members dialog box.
· Description - Type a description of up to 15 characters of the alert. You can use the description to identify the type of alert; for example, "Collections" and "Pre-Medicate" are common descriptions.
· Note - Type a detailed note of up to 4,000 characters of the alert. Click Insert Dateline to insert a date in the note and the spell check button to perform a spell check of your text.
5. To add a pre-defined note, click Alert Notes.
The Add to Note - Alert Notes dialog box appears.
Note: The notes in this dialog box are set up in the Office Manager.
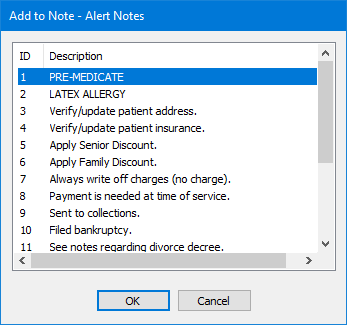
6. Select the note that you want to add, and then click OK.
7. Select the area or areas of Dentrix that you want the patient alert to appear in, or select All to have the alert appear in all areas of Dentrix.
8. To create the patient alert, click OK.